If you have completed making terrain for your model train layouts, now you need to make rocks. Most of the layouts are based on city railroading and grain service. You need not many rocks. Most layouts will contain a few rocky areas.
Personally, I like rocks and mountains and it makes the layout more beautiful and amazing. This guideline will help you to make realistic artificial rocks with techniques.
Using commercial molds for making rocks
Commercial molds are available in rubber rock molds along with hydro cal. This is one method you can use to making your model train layouts. This method doesn’t make your layout so heavy. So you can move your layout if necessary. There are many molds in different sizes and shapes. You can choose any one according to your own choice. If you create an outcropping of rocks, a rock wall or cliff, or just adding rock formations to the side of a mountain, you need to choose different rocks. You don’t need to buy a lot of these. The rocks which you want to make, a few of these molds can be rotated, turned upside down, put together in various combinations in different areas. If you incorporate each of the rocks, you can modify the rock molds of your model train layout using plaster cloth called Sculptamold.
• If you establish to create the rocks, 1st prepare the rubber mold by spraying the within with an awfully dilute resolution of water containing a number of drops of dishwasher detergent. This can be straightforward to get rid of the rock once it’s hardened within the mold. You must take care that there’s no bubble left within the mold.
• Mix the Hydrocal with water. Add simply somewhat a lot of water to create a rather soupier answer Hydrocal. It’ll make certain that the fabric gets into all the nooks and crannies of the mold. To careful that doesn’t build it too skinny or the rock is going to be too brittle.
• Now pour the mixture in “wetted” mold. Then lightly tap the bottom of the mold on a hard surface. It helps any bubbles in the mixture to rise to the top.
• Leave the Hydrocal and let it be dry. You can also work with the mold earlier only about an hour. I am the only one unlucky person when I going to work earlier with the mold it rushed. Now I always am sure it dried nicely then start working.
• When you incorporate the rock on your mountain, it will be best to cut out a small hole in the terrain’s plaster cloth. Then you can use Hydrocal to put around the edges of the rock to fill in the holes. You can also use the pieces of plaster clothes to fill the large gaps.
Polyurethane “rocks”
You can purchase readymade “rocks” from hobby stores. You can cut and shape them whatever you want. You can also fit them into space where you want to put them. Sculptamold or plaster cloth can then be used to fill in the spaces around the edges to help them blend into the terrain.
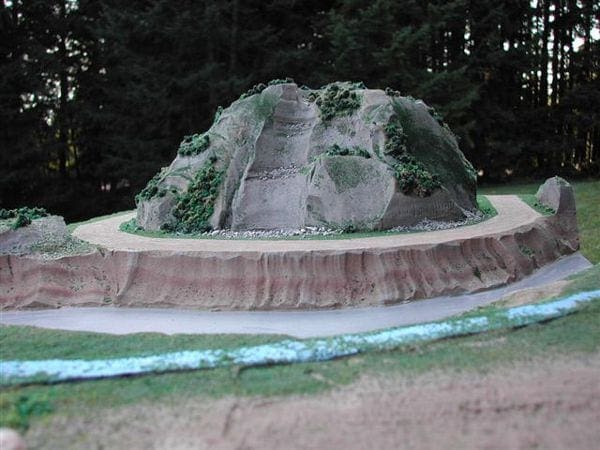
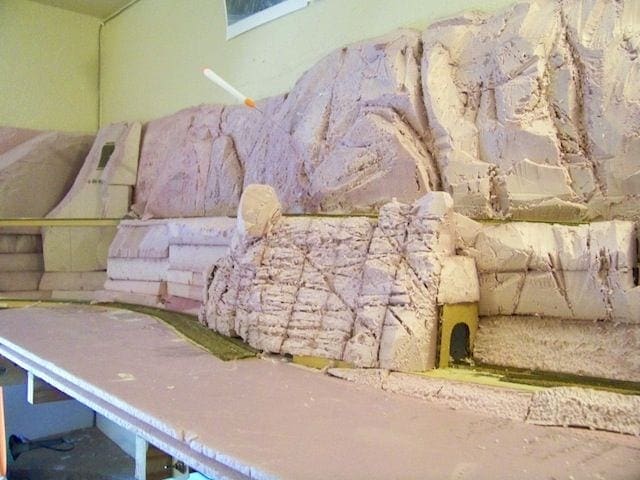
Homemade rock walls
This is an excellent way to make rocks for the model train layouts. Just apply Sculptamold in an irregular fashion using towel; you can make rocks, wall, and cliffs. After you’ve got applied the Sculptamold to the surface you’ll cut lines associated crevices any method you would like to do to simulate an irregular rock surface.
Combinations
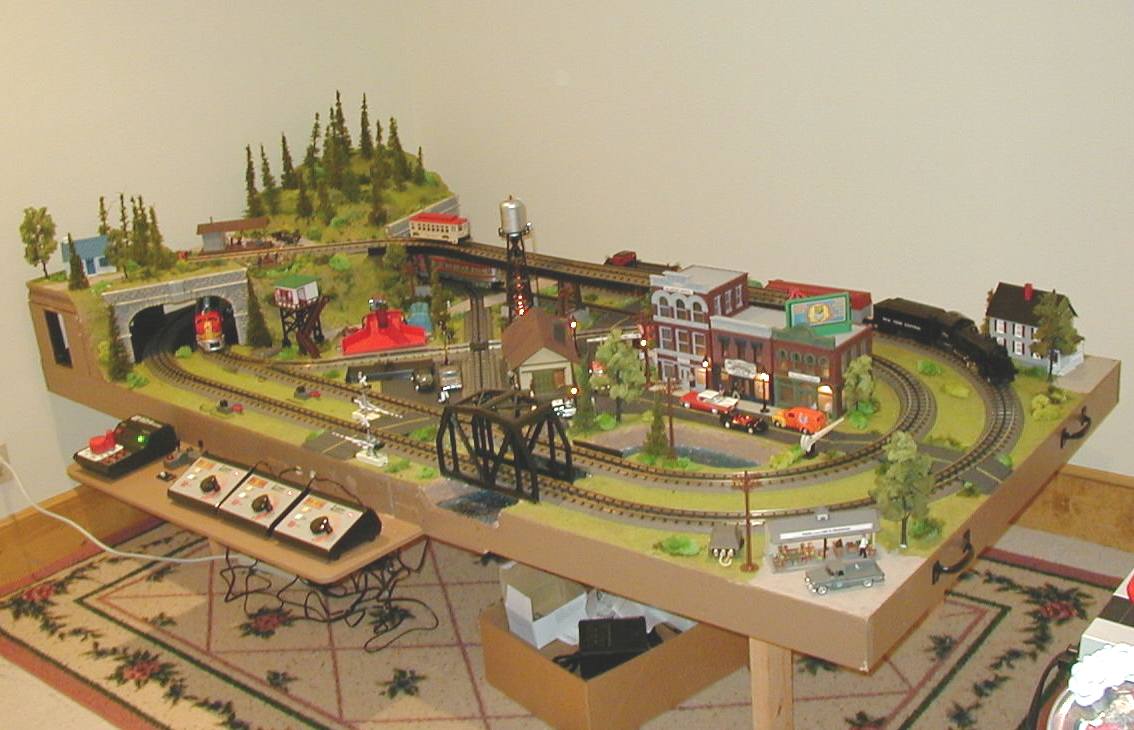
If you have a sizable layout, you will probably want to use a combination of most or all of these techniques for making rocks. That will play an additional fascinating degree of variability in your scenery that may keep your viewers shot concerning however you probably did it all!

Here’s Top 5 Things to Avoid When Building a Model Railroad
Resources: