Building a spiral helix model train layout can be difficult because of the curvature of the spiral that holds the helix track in place. Tools such as hot melt glue, nails, ties and solder rail joiners will help make it easier to build this type of track.
One of the more difficult points is to make it smooth and functional. A good method to try is to router the grooves in the helix, which makes it easier to attach the track.
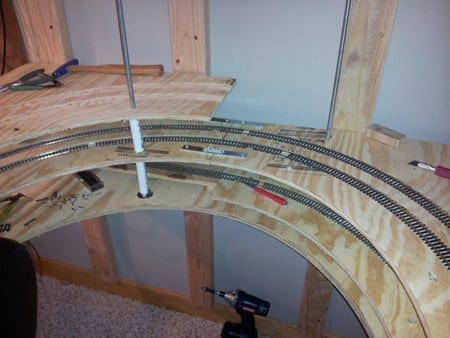
Also staggered rail joints that sit between the inside rail and along the outside will help eliminate any kinks in the track that can cause derailment issues
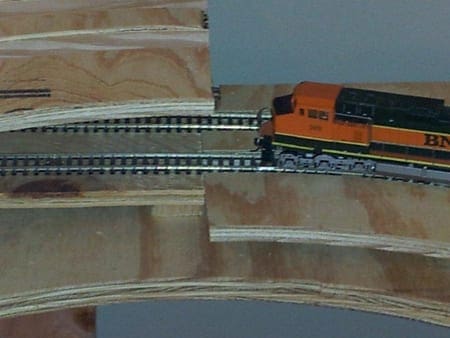
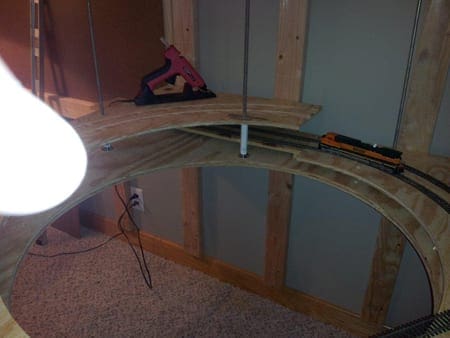
A Train on an Unfinished Helix Railroad Model
Don’t run your model train just yet! Before anything else, make sure that you know all there is to know about building your helix railroad model.
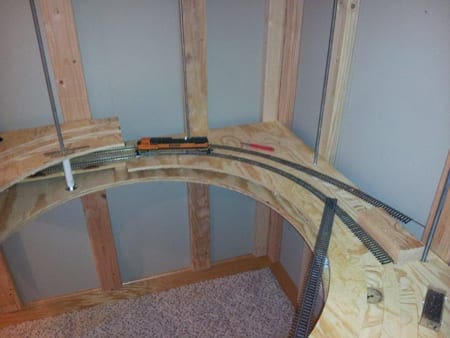
A Train on an Unfinished Helix Railroad Model
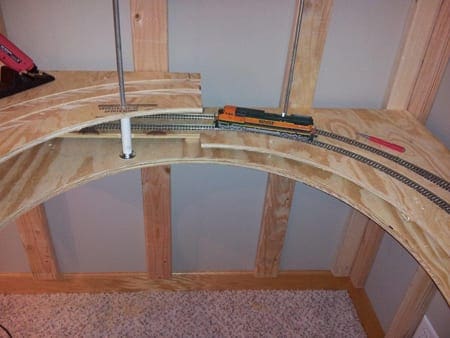
A helix model allows your train to run up and down multiple levels through a spiral-shaped track. Pictured here is the train sitting just after the curve of one of the levels.
The Importance of Staggered Joints to a Helix Model
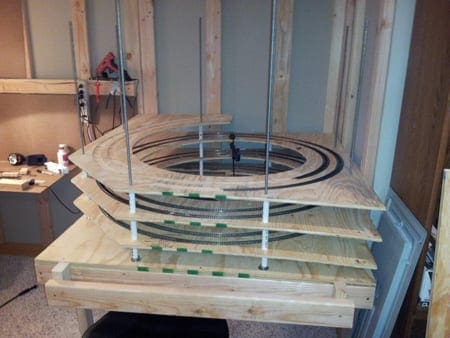
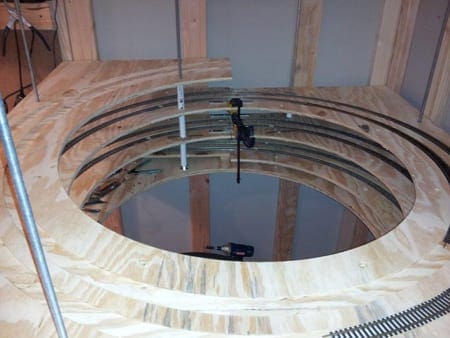
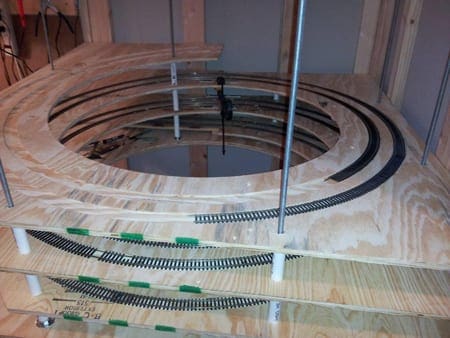
A helix railroad model looks roughly like this. Your train will be traveling through spirals in order to ascend and descend. In order for your model train to run smoothly through it, you are going to need staggered joints.
Avoid Kinks with Staggered Joints
To stagger your joints, you must arrange them in a way that they are not directly facing each other. By doing this, you will save yourself a lot of frustration by avoiding kinks along the rail.
Move Curved Rails Round Easily with Staggered Joints
Staggered joints serve another purpose. With staggered joints, you can safely and freely move the curved rails later on.
Use Routed Grooves For Easier Railroad Model Construction

Another method to consider when building your helix railroad model is routing grooves. This allows you to attach parts of the track with ease.
The Tools Necessary for a Helix Railroad Model
There’s only a short list of tools for your helix model. You’ll need hot melt glue, nails, ties, and a solder for the joints. All of these will come in handy when constructing your model.
The Methods to the Perfect Helix Railroad Model
By following these methods, you’ll have a helix model that you can be proud of. Once you have successfully added routed grooves and staggered joints to your helix railroad, it’s time to attach them together to complete your model.
Your Model Train is Ready to Go
Once everything is done, it’s time to set aside your tools and have fun. Sit back, relax, and watch your model train glide up and down the helix model.