Replace 12 volts bulbs in your model train locomotive with 1.5 volt LED’s. The main benefits of replacing regular 12 volt bulbs with LED’s is that it produces less heat and more light at very low speeds. It can be difficult at times to run realistic speeds with bulbs that do not produce enough light. Sometimes you must run the trains very fast to achieve proper lighting.
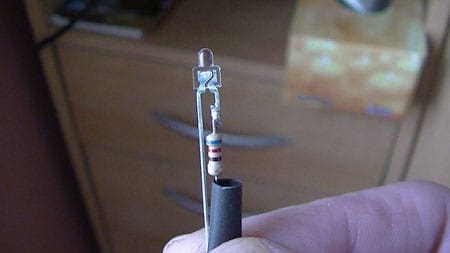
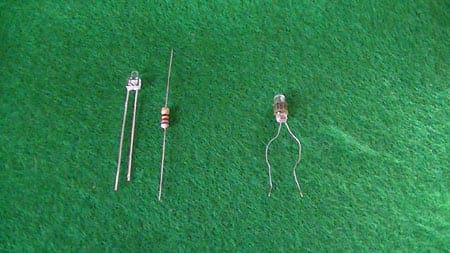 LED and the 12 volt resistor
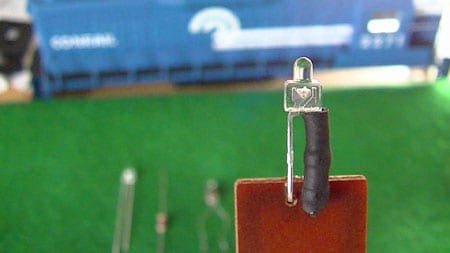
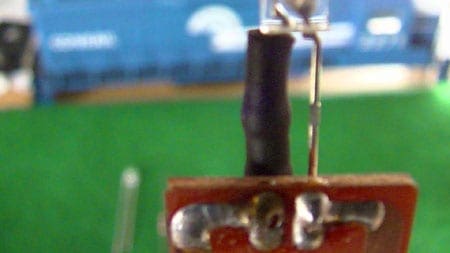
 The light board in the locomotive
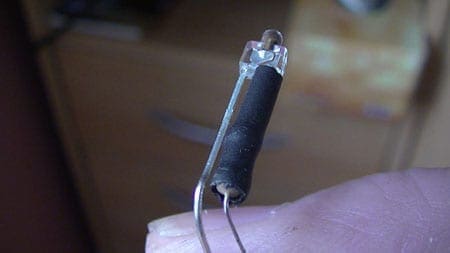
 Factory bulb in the rear of the locomotive
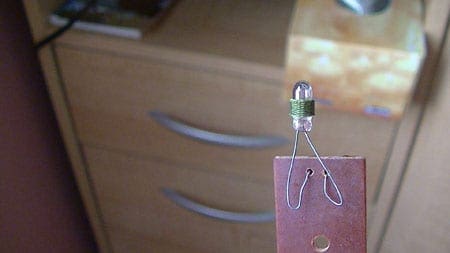
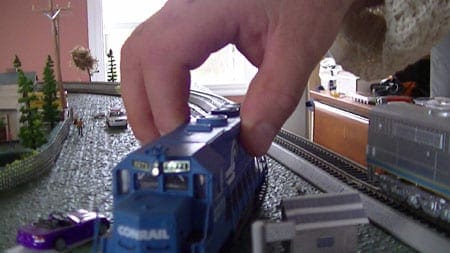
 The finished light
 Careful to make sure the 2 soldered point’s don’t not touch and to use an object to scrap gently between to clear any unwanted stuff and make a clean connection
Here’s what to do next
Here’s Your FREE Step-by-Step Instructions on Building a Fully Functional Model Railroad with all the Bells’ Whistles including Tunnels, Bridges, DCC Power Control Center, High Grades, Steep Slopes and Tight Curves Outlined by and Beautiful Mountains and Epic Scenery