You have built terrain, tunnel, covered it with plaster-cloth and incorporated various rocks casting for your model train layouts. Now you are ready for painting rocks and coloring your scenery foundation. Painting these formations makes your model train layouts something recognizable. But if are looking for best residential painting in Brisbane, you can take the help of a professional paint service like Super paint Residential and Commercial painting service.
So feel some excitement on your mind? This is the only platform to be artistic without having any talent (at least in this article). I will suggest painting foundation first, then rocks. You can do as your wish.
Painting the foundation
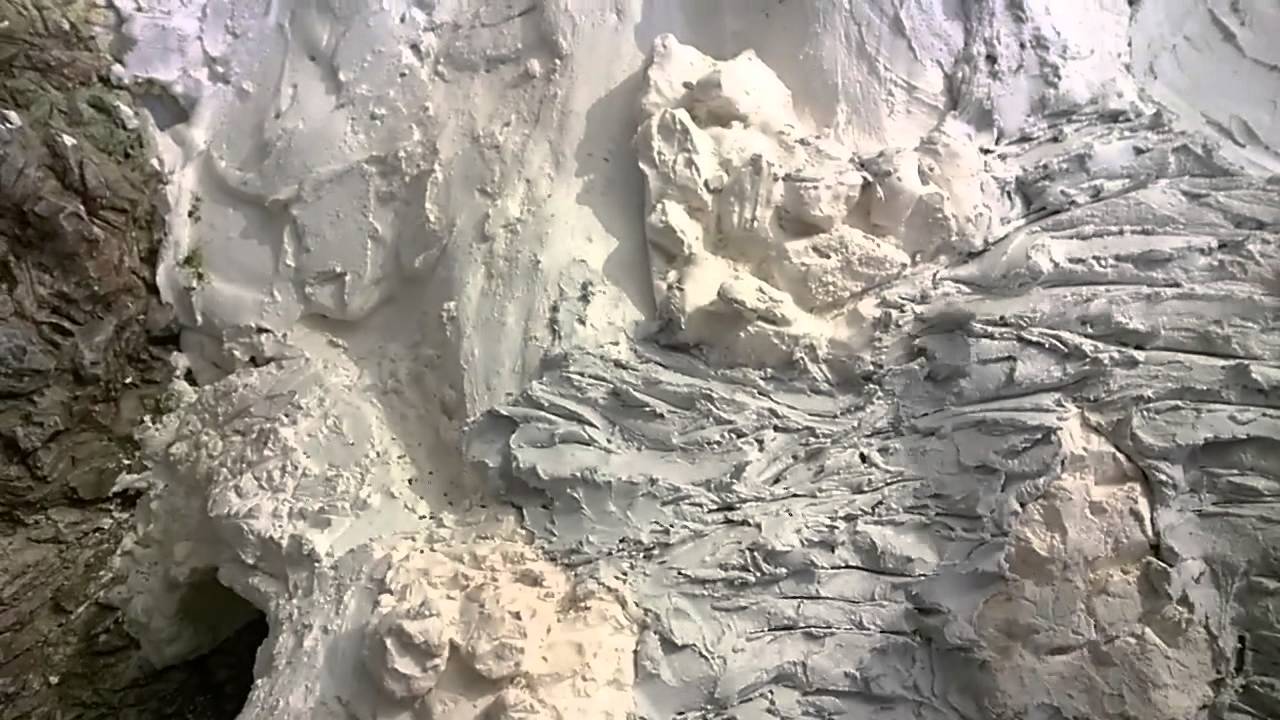
If you’ve got coated most of your parcel with plaster material, in all probability you would like to color your foundation with some neutral tan color simply to hide the white plaster. You don’t need white peeking then a little tan pigment peeks the bottom cowl that’s okay.
Don’t be upset to blend other colors in a different area of your model train layouts. For example – brownish green color, darker brown or gray may be more appropriate for the different area of your model train layouts. Some color variation makes your layout more attractive and realistic. Although much of the foundation will be covered later by ground cover.
May be more appropriate for the different area of your model train layouts. Some color variation makes your layout more attractive and realistic. Although much of the foundation will be covered later by ground cover.
Painting Rocks
To make a painting on rocks first you need several washes, in separate containers, using very small amounts of acrylic paint with a large amount of water. In the following read carefully, I will write details.
- Use 1part paint mixed with 16 parts water for burnt umber, concrete, stone gray, yellow ocher and white acrylic paints.
- Use the 1part liquid to 32parts water for black, raw umber and slate gray.
Use washes in this process. The use of washes in painting rocks is forgiving. You can make all kinds of mistakes and don’t be the worry. You are going to a process to get an excellent result.
This time you are ready to paint the rocks for your model train layouts. Dip the brush into the wash, apply the wash to different areas of your rocks. Don’t paint the whole rock in one color. Painting a spot here and a spot there is called “leopard spot” method. If you have other rocks or rocks wall to be painted, do the same thing.
Now rinse out your brush in a very instrumentality of plain water and work with constant method. now dabbing the color on completely different areas of the rock or wall. If the colors run along, that’s okay. They must mix in along anyway.
Now advance to a special color and do constant issue, and so on, till all the white areas of the plaster rock or formation are lined.
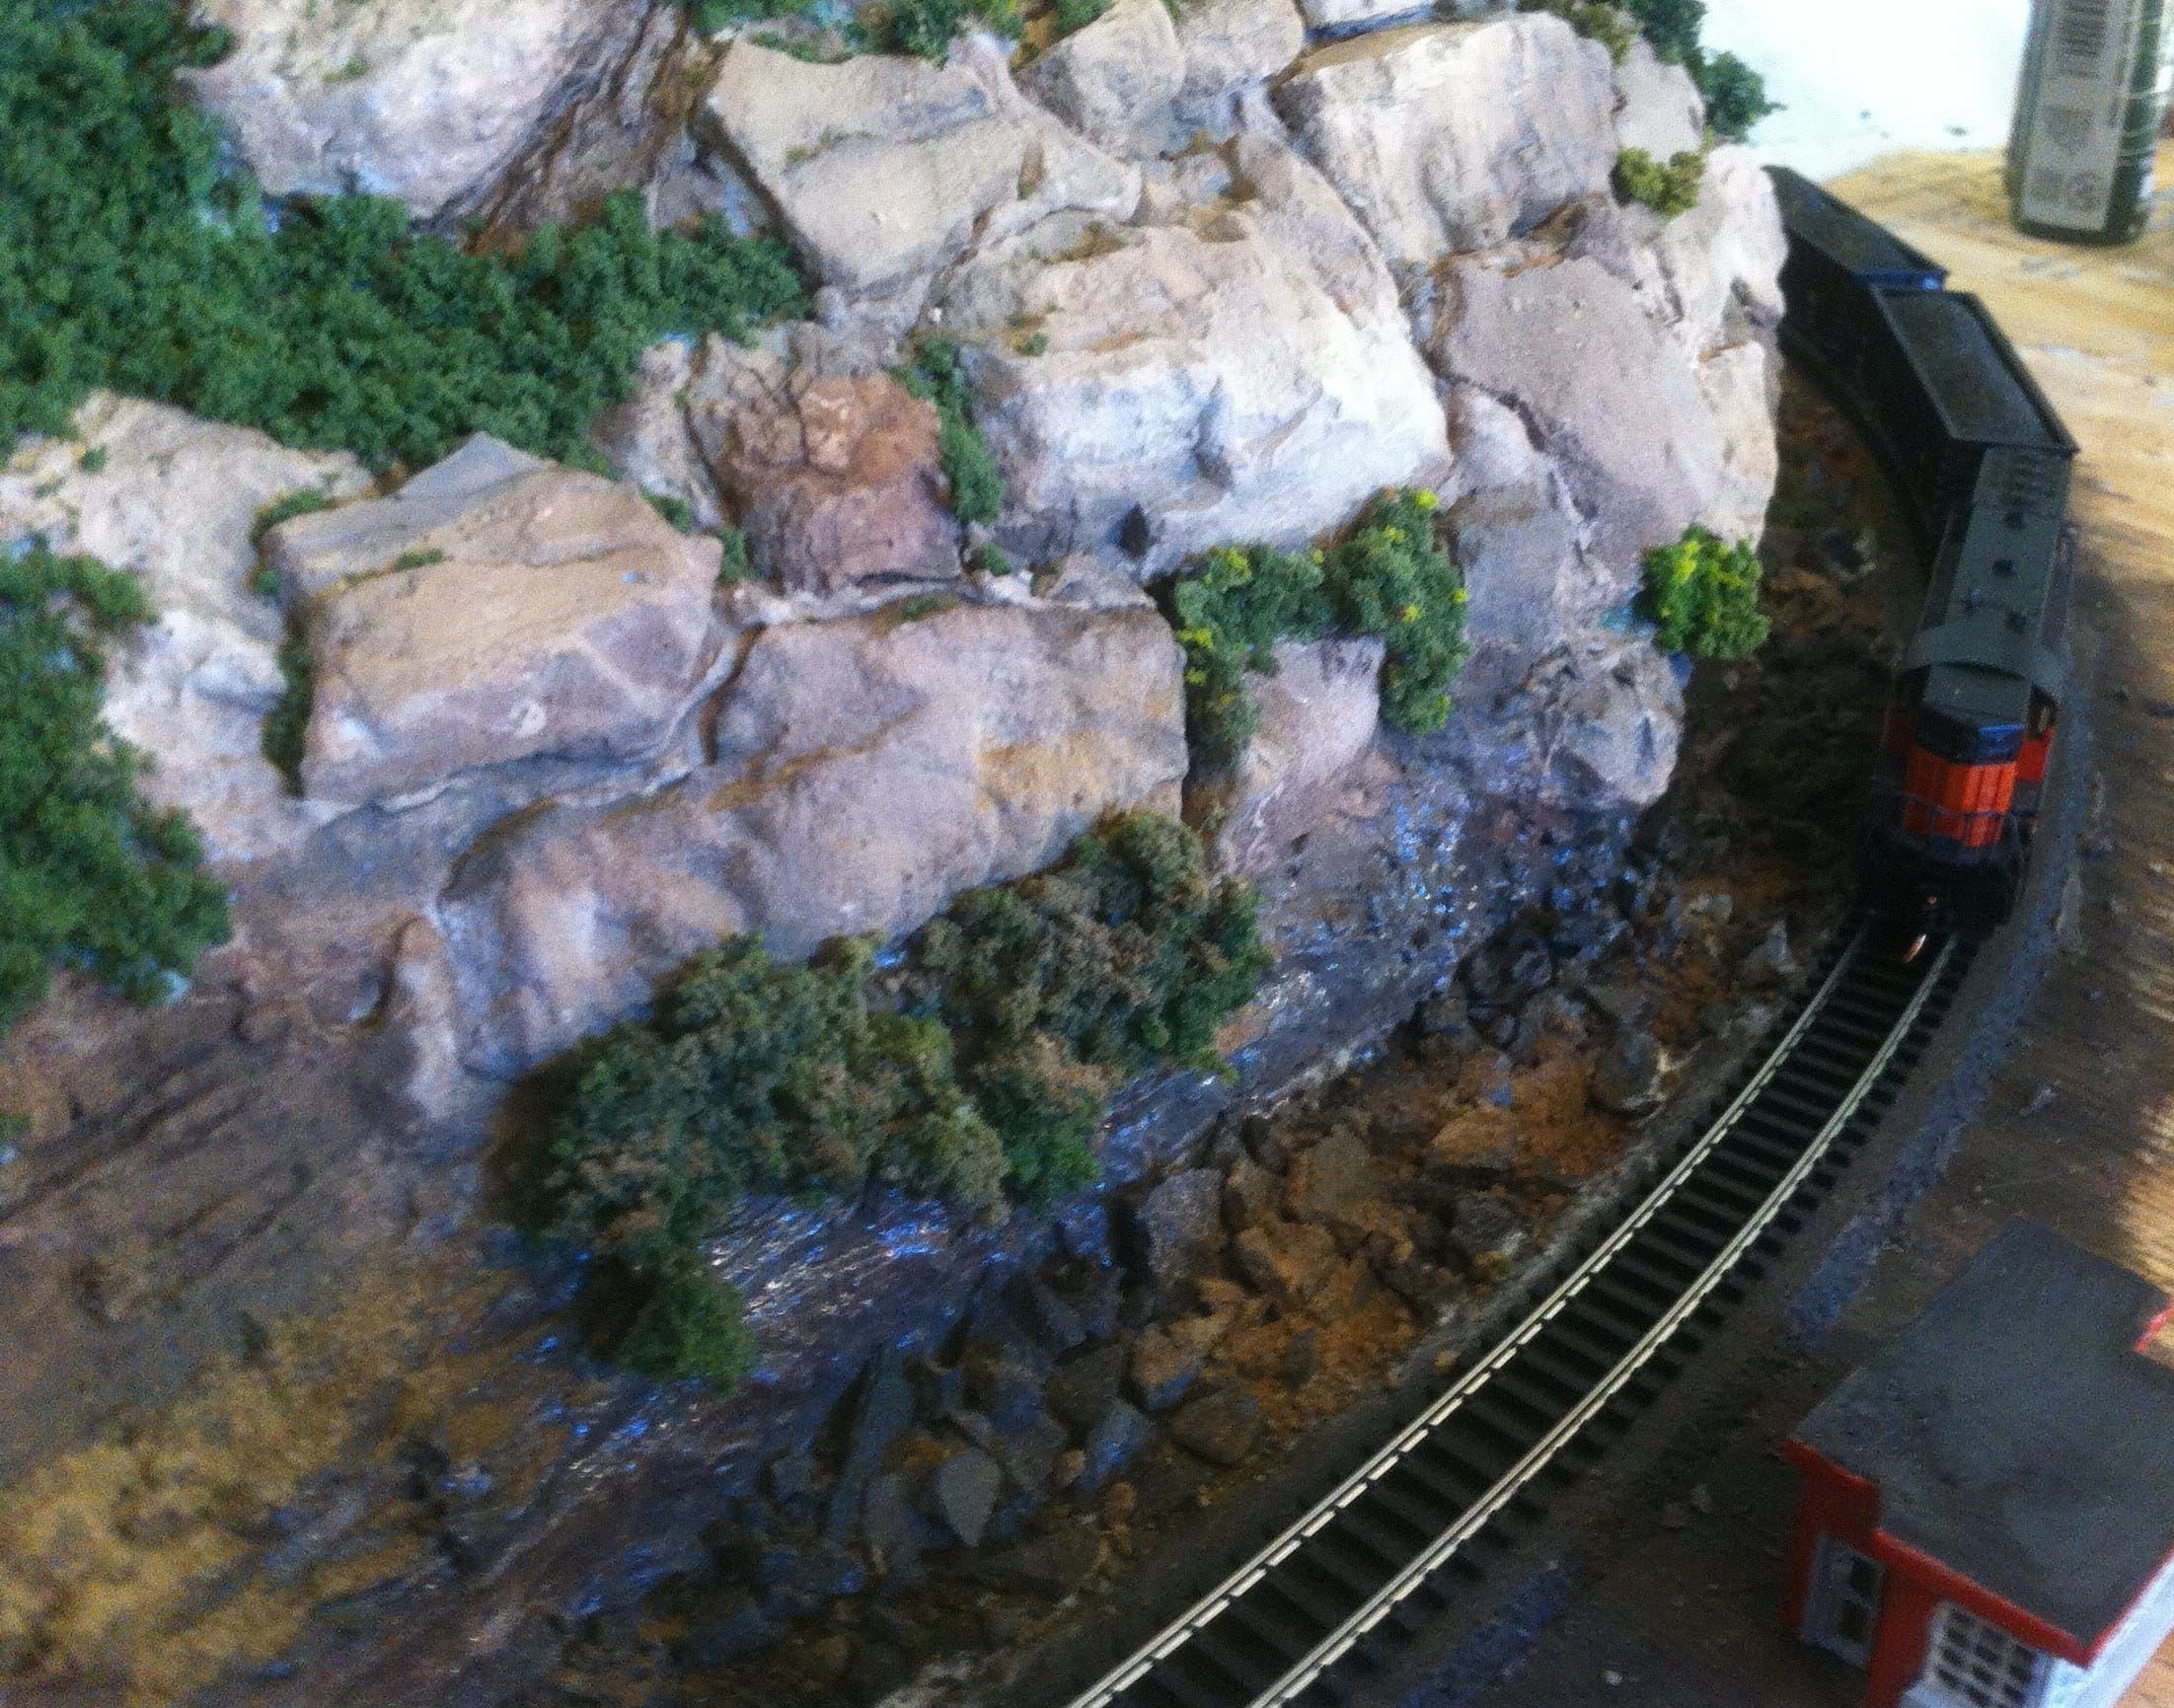
Your rocks area unit in all probability still too light-weight in color, therefore you’ll have to be compelled to continue the method, repetition a number of the colors and mixing them in until you get the correct shade that appears realistic.

Here’s How to Get Started Quickly And Easily With Your Dream Model Railroad
Resources: