A model train table is the one part of a layout nobody photographs and everybody regrets getting wrong. Track can be relaid and scenery repainted, but a frame that sags or twists pulls rail joints apart every season, and the only fix is to build it again.
The carpentry itself is simple: lumber on edge, joists every 16 to 24 inches, a deck on top. What is not simple is the three decisions you make before cutting anything, because those are the ones you cannot undo later. How tall. How deep. What the top is made of.
Depth is the model train table decision people regret most. A table against a wall is only comfortably reachable to about 30 inches, so on a 4-foot-deep table the back foot is somewhere you can see but not touch. Every re-railing, every repair, every bit of scenery back there becomes a stretch. The plans below run from a 4×8 sheet up to a room-sized railroad, with the dimensions each one actually uses.
The Open Grid: The Frame Under Almost Every Layout
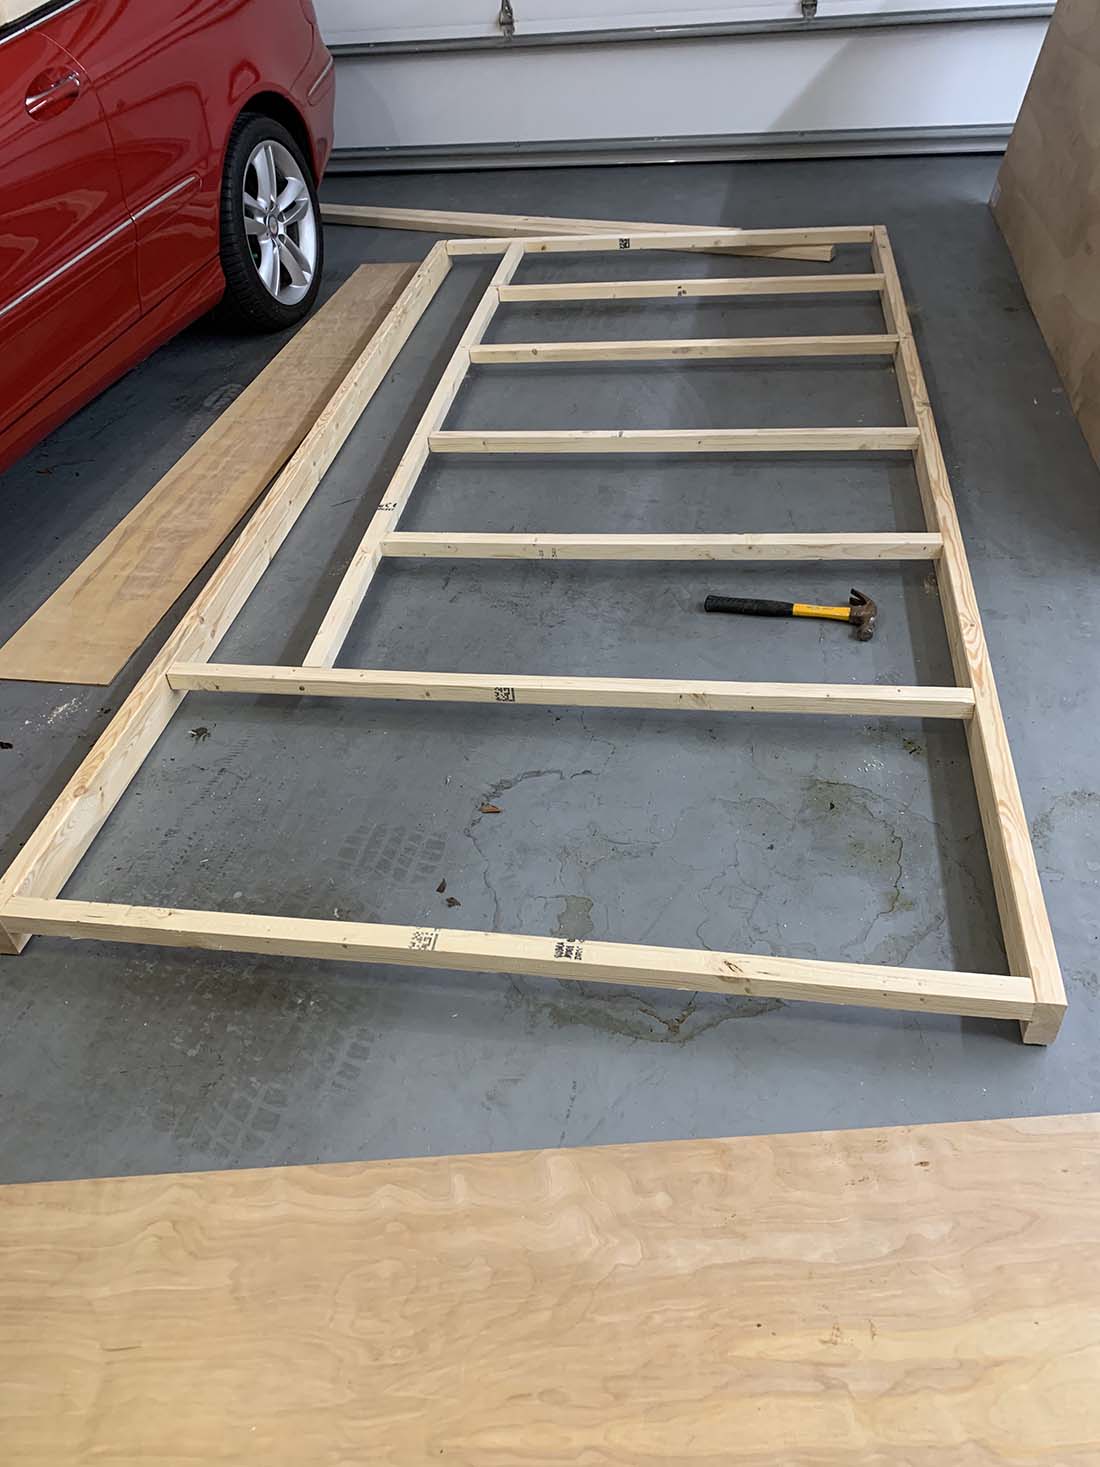
Open grid is the default model train table frame for a reason: a rectangle of 1×4 on edge with cross joists every 16 to 24 inches, then a plywood deck screwed on top. On edge, a 1×4 is enormously stiffer than it looks, which is why the frame can be this light and still not sag.
If you are building this frame for N scale, the 4×8 N scale plans show how much railroad fits on one. Build the outer rectangle first and check it for square by measuring both diagonals before you add a single joist. If those two measurements differ, every joist after it locks the error in permanently.
Clamping the Frame Square Before You Screw It
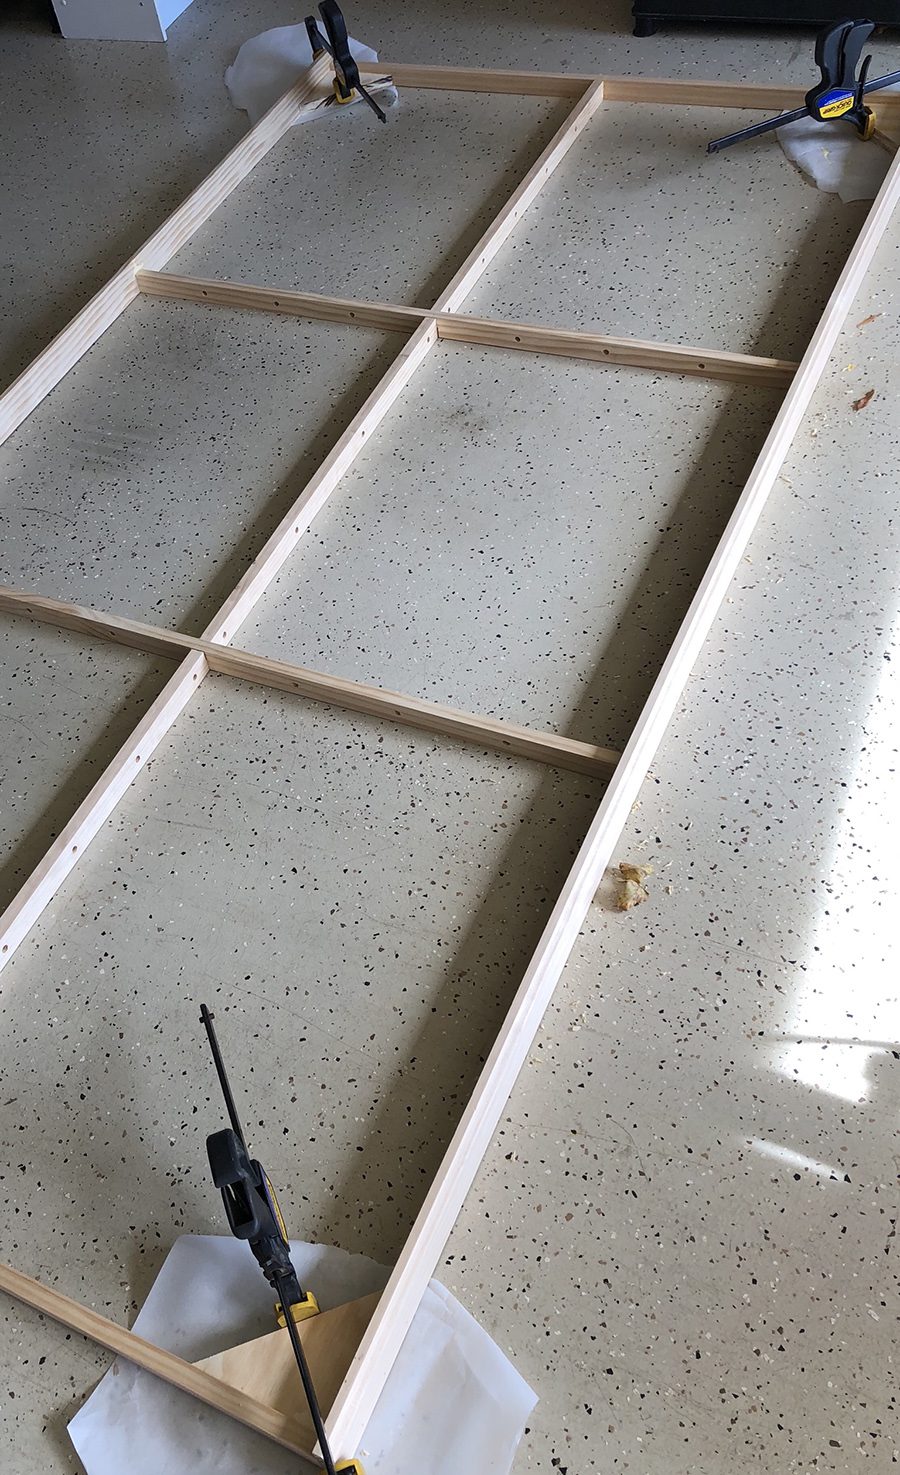
Bill built this one to be light rather than immovable, because the space is shared with his wife and the layout has to move. He used 1×3 select pine for the sides and 1×1.5 for the rest, and drilled the frame members for wiring before assembling anything.
Two things worth stealing here. Drill your wire runs while the frame is still loose on the floor, because it is miserable to do overhead later. And clamp the whole frame and check it for square before driving a single screw.
A 4×8 Model Train Table on a Single Sheet
Four feet by eight is the standard model train table size because that is how plywood is sold: one sheet, no ripping, no waste. It suits HO and N comfortably, and O gauge if you stay on O36 curves, which need about 42 inches across the roadbed. See what that buys you on our O scale layouts. Once the deck is on, you need a plan to lay on it: our 4×8 HO track plans are drawn for exactly this sheet.
On the perennial half-inch versus three-quarter argument: if your joists are 16 inches apart, half-inch is enough and three-quarter is just weight you have to lift. Three-quarter earns its place only over wide joist spacing or where you will cut large openings. Many builders skip the thickness question entirely and put two inches of extruded foam over thin ply, which is lighter and lets you carve below track level.
Folding Legs for a Table That Has to Move
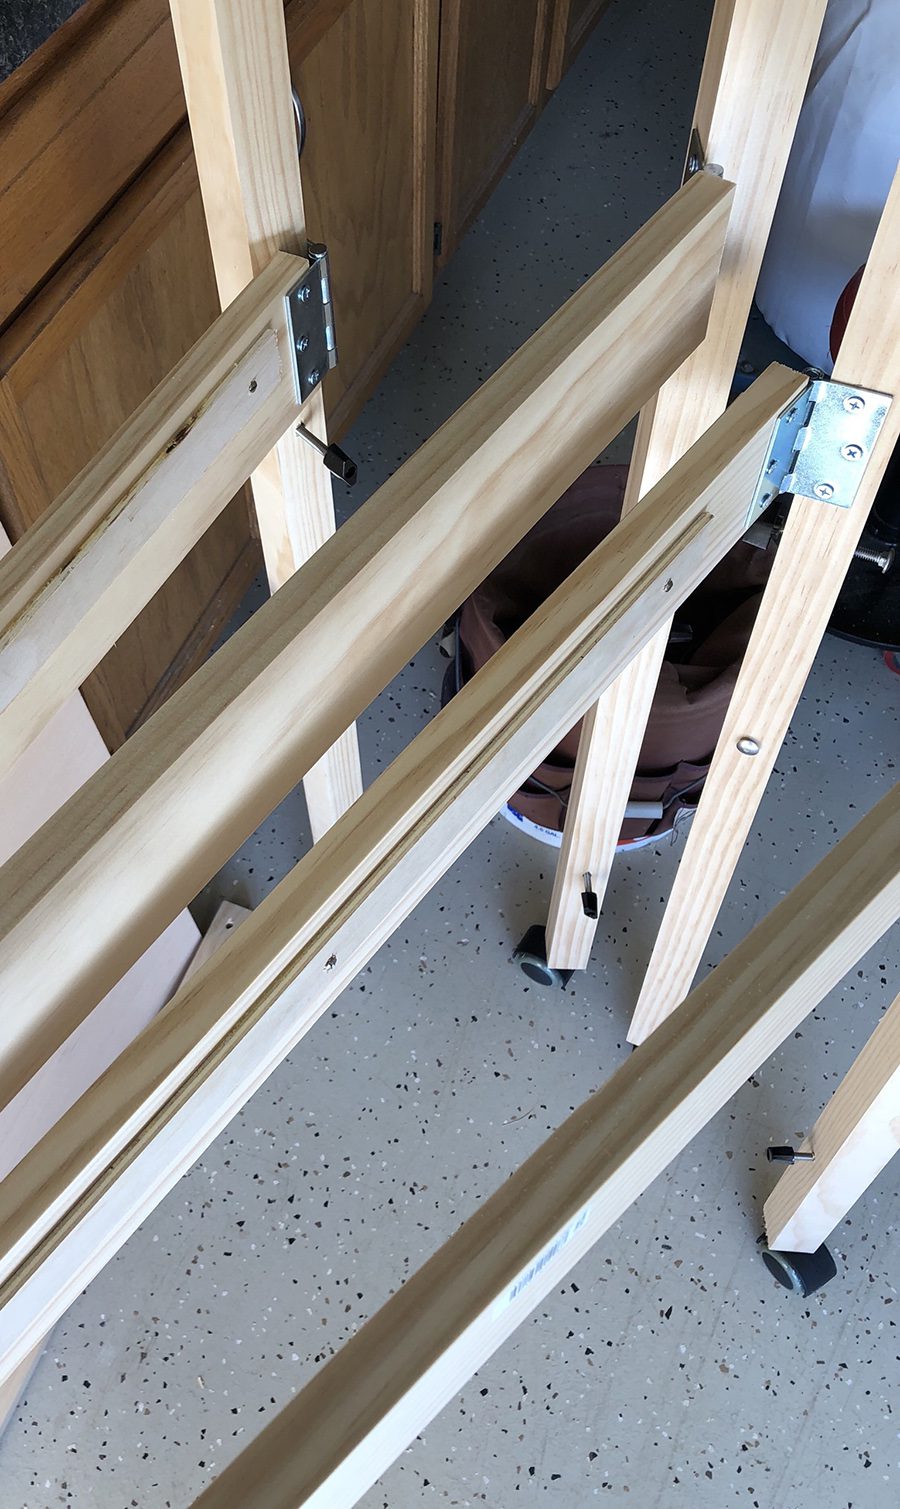
If the table lives in a shared room, hinge the legs. Bill’s fold flat with plain steel butt hinges and roll on castors, which turns a fixed bench into something one person can move alone.
A frame this light suits a shelf layout, where depth is small and the bench has to come off the wall. Add a diagonal brace or a hook that locks the legs open. Hinges give you the fold, but nothing stops a hinged leg folding while loaded unless you fit something that positively holds it.
Setting the Table Height Before You Cut Legs
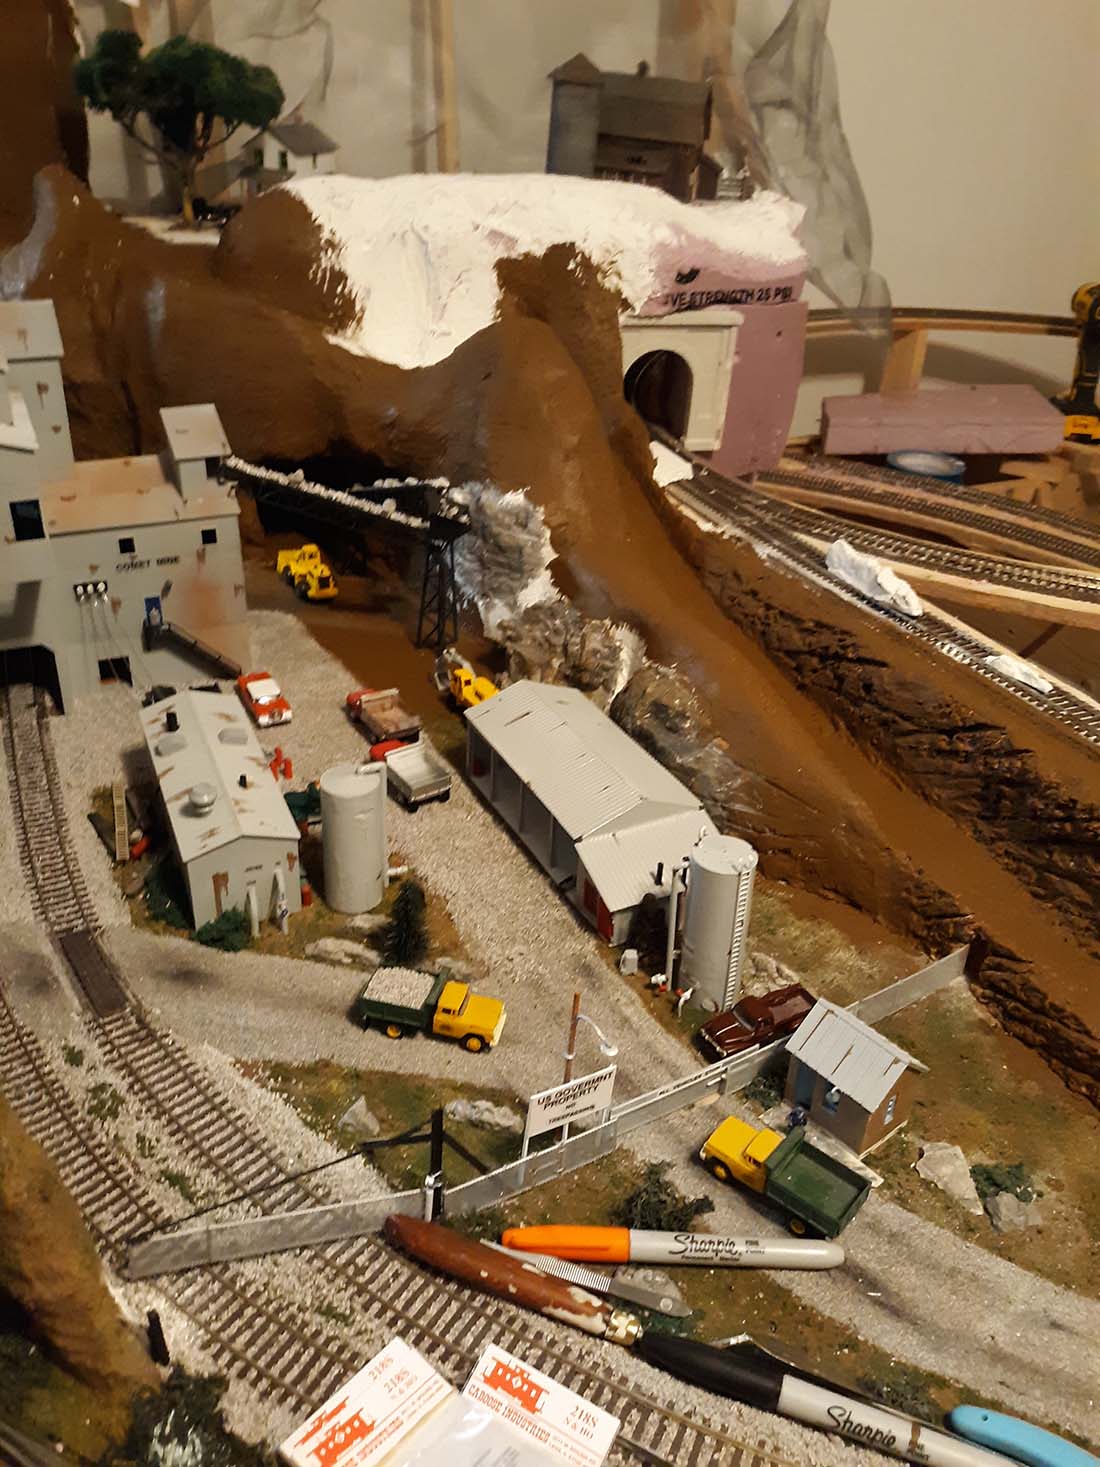
Height is a straight trade and nobody can make it for you: the higher the table, the better the trains look and the harder everything else gets. At 32 inches you can reach across the whole thing but you will be on your back to wire it. At 48 you get a near eye-level view and a comfortable space underneath, but you cannot see into the middle and children cannot see at all. Most settle at 36 to 42.
Two practical notes. If you are near 30 inches, cutting legs at 30.5 lets you get three from a single 92-inch stud with no waste. And cut every leg from one story stick rather than measuring each. Floors are never level, so shim at the foot and keep the frame itself true.
An L-Shaped Table That Turns a Room Corner
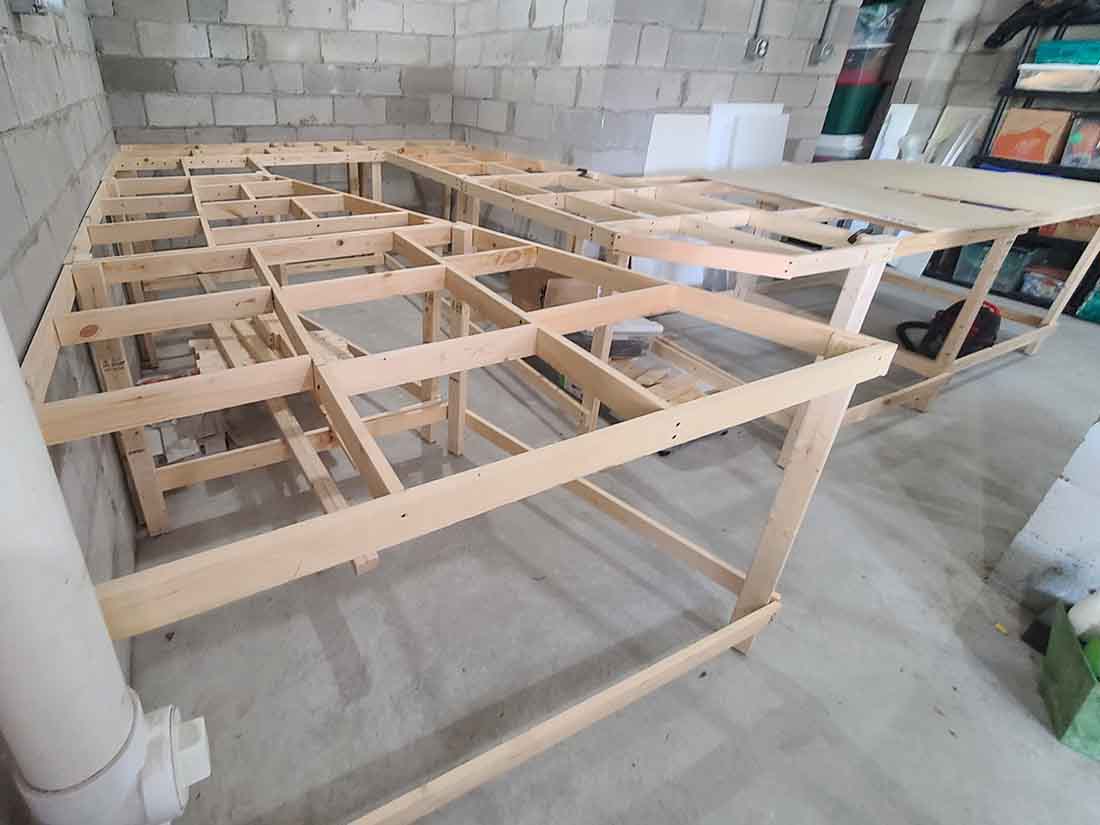
Once a layout passes about 6×10, a single table stops making sense. John’s M&K Division is roughly 10 by 15 feet and runs around the room rather than filling the middle, which is the only way to reach every part of a railroad that size.
Going around the walls also fixes the reach problem before it starts. A shelf 24 to 30 inches deep is reachable from one side; a 10-foot table is not reachable from anywhere. See our large HO layouts for what this shape makes possible. A layout made of joinable tables can be carried through a doorway; a single 12-foot frame built in place has to be cut apart to ever leave the room.
Building in Sections You Can Carry
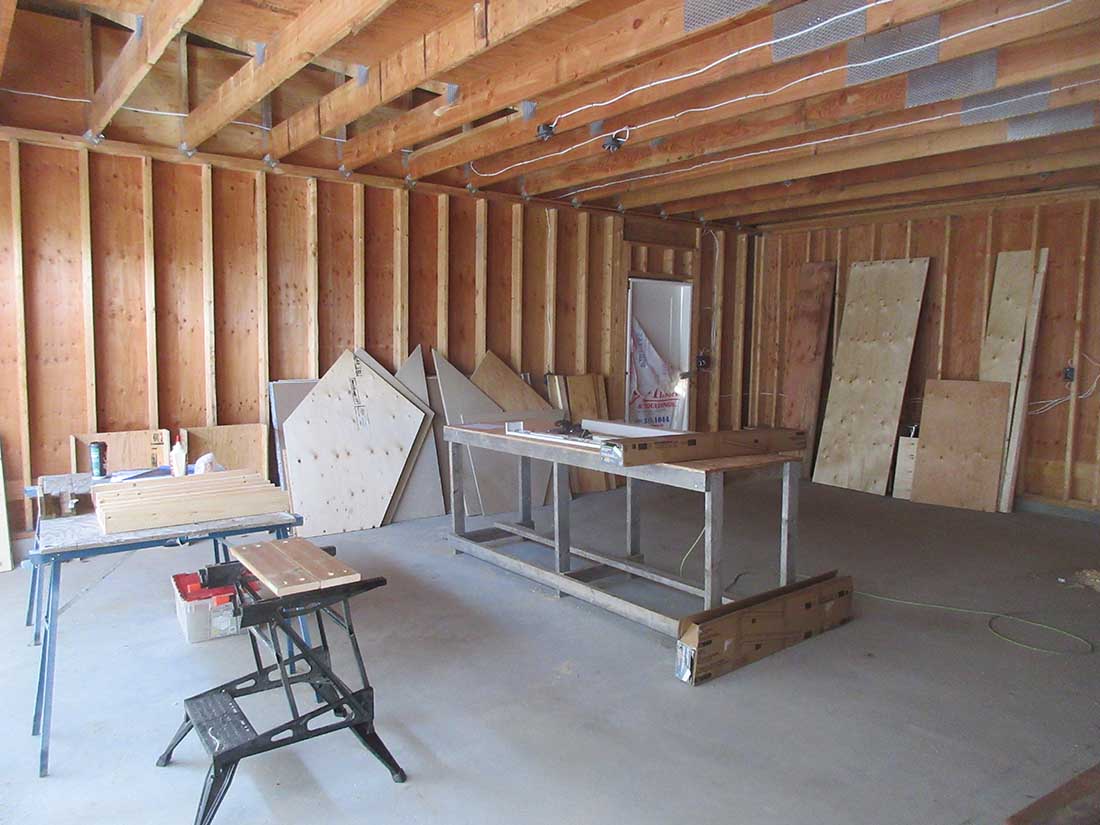
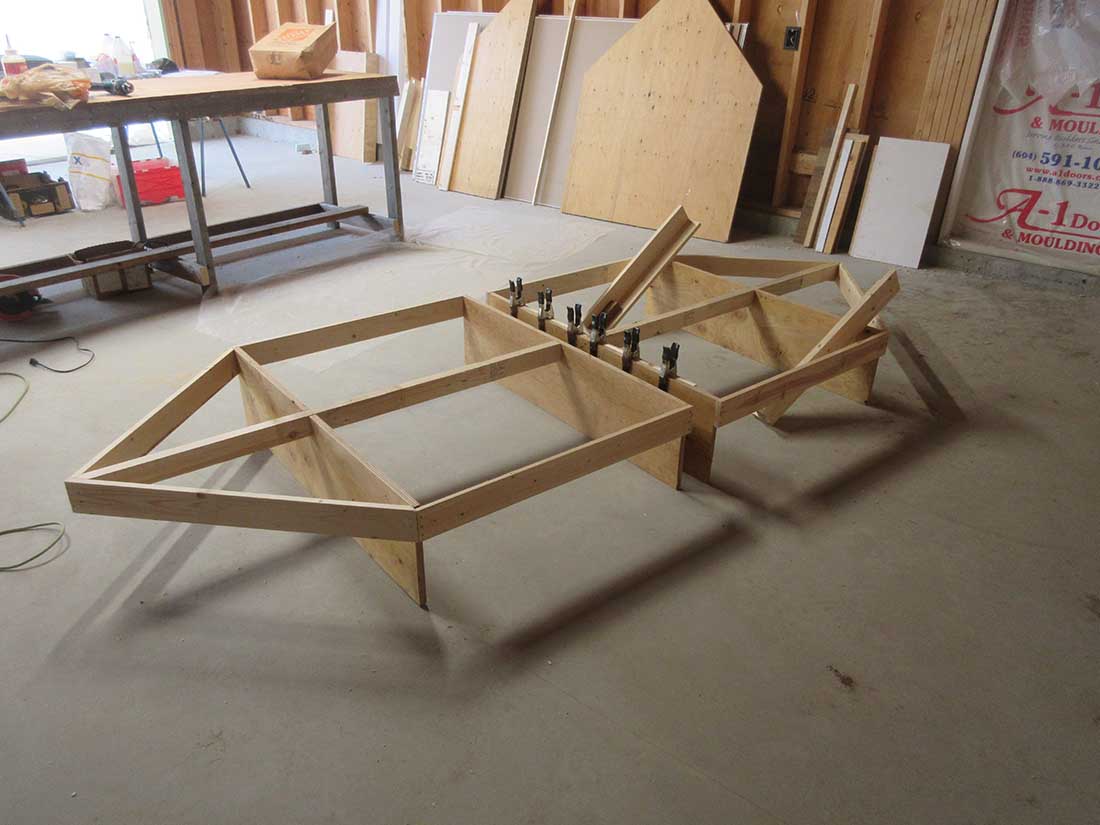
Anything bigger than about 6 feet should be built as sections that bolt together, which is how most switching layouts are put together. Each section gets its own complete frame, and carriage bolts through the adjoining end pieces pull them tight.
Align the track across a section joint with care, because that joint will move slightly with humidity. Many builders solder feeder wires either side of the join and leave a small expansion gap in the rail itself.
Adding the Plywood Deck
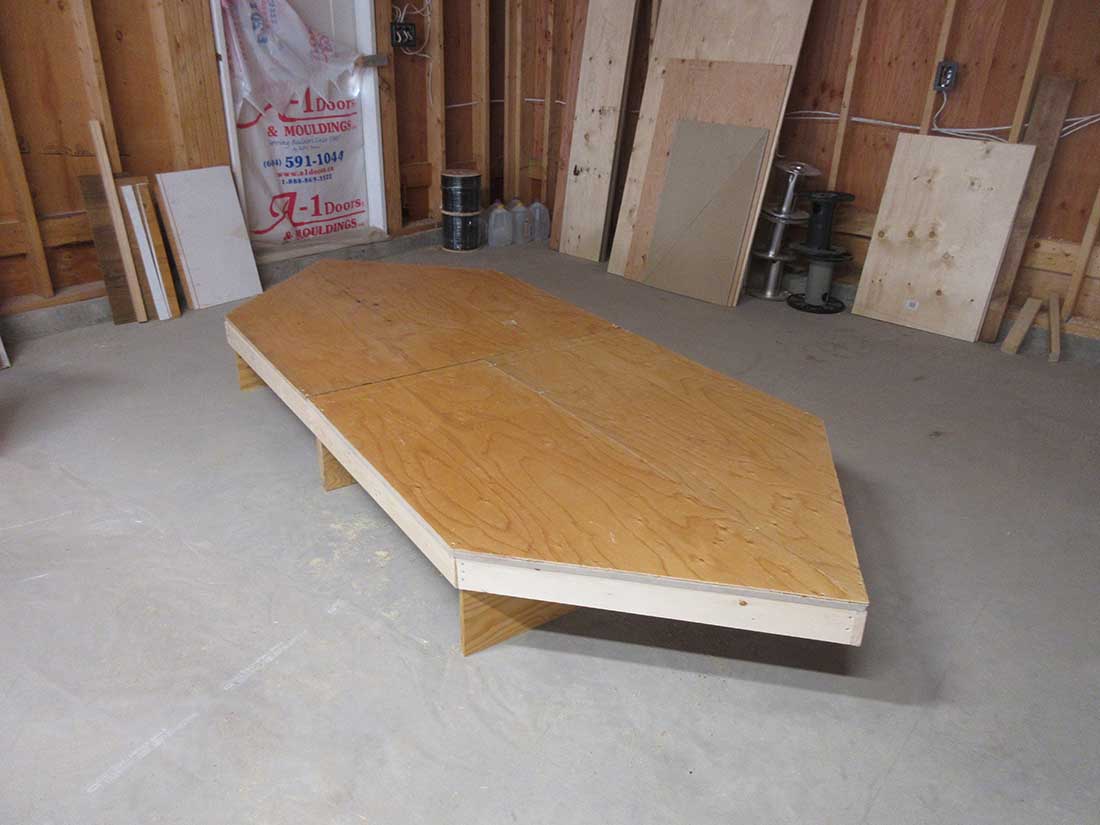
Screw the deck down rather than gluing it. Screws let you lift a panel later to fit point motors, wiring or a hidden siding, and you will want to at some stage.
Many builders add two inches of extruded foam over the plywood. It lets you carve a river below track level instead of building everything up from a flat plane, and it deadens the drumming noise a bare plywood deck makes.
Wiring Access Under the Table
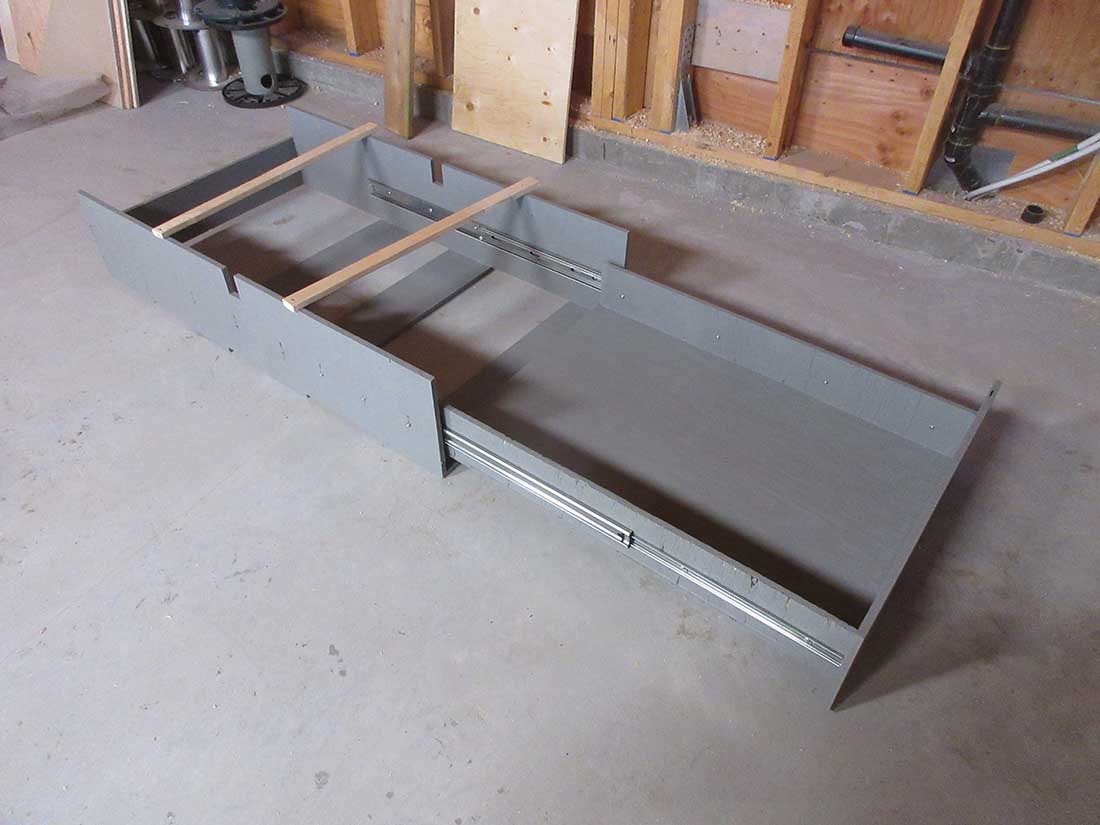
Plan how you will get underneath before the deck goes on. Open-grid framing leaves the underside accessible, which is exactly where every wire, switch motor and terminal block ends up living.
Leave the middle bays clear of bracing wherever the control panel will sit. Diagonal bracing is essential at the corners and a nuisance in the middle of the run, where you need room to work on your back.
From Bare Frame to Finished Scene
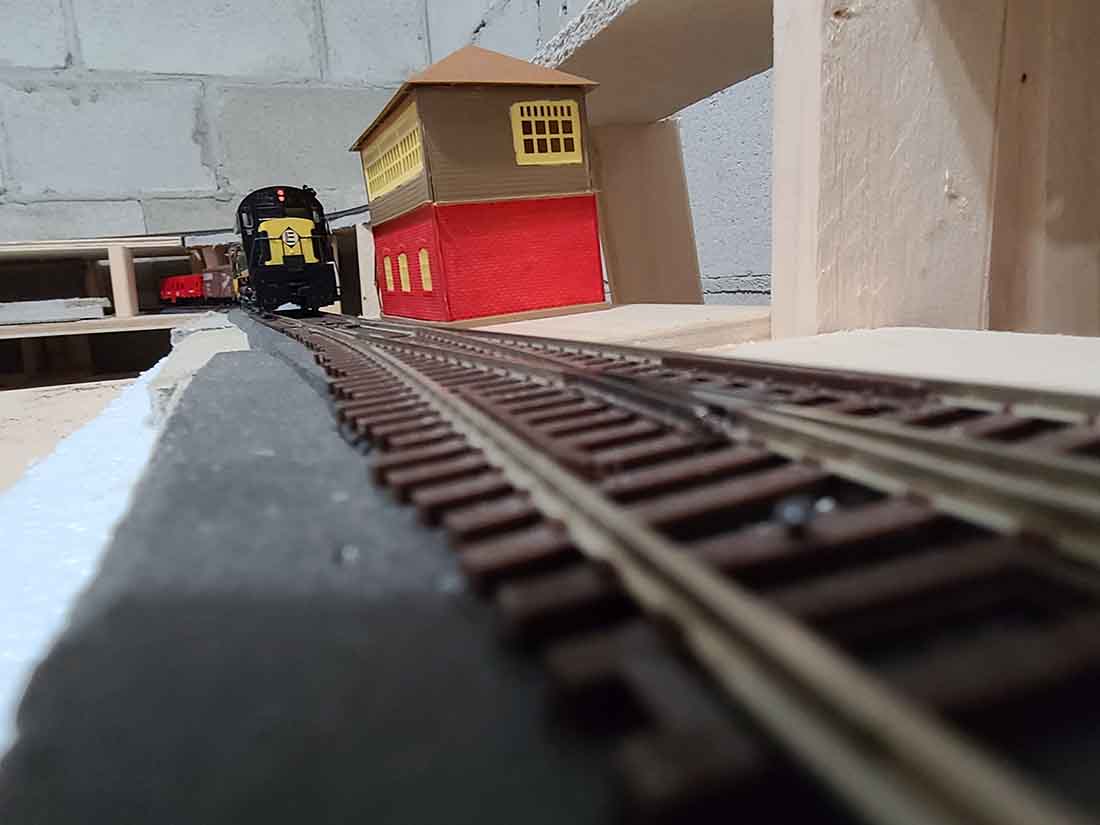
This is what the carpentry is for. Twenty months into the build, none of the framing is visible any more, which is the point: the table is the only part of a layout that is supposed to disappear.
Build the model train table to outlast the track plan. Most modelers relay track at least once and rebuild scenery more than that, but a square, stiff, well-braced frame carries all of it without ever being touched again.
FAQ
How tall should a model train table be?
Between 36 and 42 inches suits most adults, though benchwork heights run from 32 to 54. Higher tables look more realistic because you view trains nearer eye level, while lower ones are easier to reach across and much better for children. Decide before cutting legs.
What thickness plywood for a model train table?
Half-inch plywood is the common choice over joists spaced 16 inches apart. Three-eighths is enough on the same spacing and saves weight, and three-quarters is heavier than a properly joisted frame needs. Many builders add two inches of foam on top for carving scenery below track level.
What size should a model train table be?
A 4×8 sheet is the standard starting size and suits HO, N, and O gauge on O36 curves. Our N scale layout guide shows what fits at each size. Past four feet deep you cannot reach the middle from one side, so go to an L shape or a shelf around the walls rather than a wider table.
What wood is used for model railroad benchwork?
Standard 1×4 softwood on edge for the frame and joists, with 1×2 or 2×2 for legs. Pine or whitewood is fine and cheap. Choose the straightest boards on the rack, sight down each one before buying, and reject anything with a visible bow or twist.